Wednesday, 29 May 2013
Ikea Lamps Into Art: Mosaic Lamps


Materials: Althorn Table lamps, glass, silicone, grout, spray paint
Description: Spray painted bases black, and drew design on glass globes. Mosaic-ed the designs with stained glass in various colors. Grouted mosaic, and put on tables!


Original design was mimicked from a mosaic panel I made also. (Pictured with lamps)
See more of the mosaic lamps.
~ HRSGriffin
Portable workbench

Materials: Bekvam kitchen cart, Antonius 25L drawer
Description: I wanted some sort of mobile storage solution for when I want to work inside (or outside) instead of in the garage where my tools live. And a flat surface that I wouldn't have to worry about scratching would be a bonus. So when my local Ikea was selling the Bekvam kitchen cart for $20, I did some searching and was inspired by Jan Propok's drilling machine table.
I couldn't justify $100 for the Alex drawer unit when I only spent $20 for the cart, so I did some measuring and found that the Antonius plastic bins fit perfectly!


Like Jan, I assembled the Bekvam but without the centre shelf. I had some spare trim in the garage, so I cut it to size with a mitre saw and screwed 3 pieces onto the insides of the cart to act as drawer slides. The drawers only fit one way, so make sure you dry fit everything to make sure it works.
The trim I used is 3" baseboard at 5/8" thick (although you could easily use 1/2" thick). Be careful when you screw it together because the baseboard is very soft and the cart is very hard and you might break your screws... I pre-drilled my holes and I still had trouble.
I added a cabinet handle (Lansa) I had left over from my kitchen reno to hang rags or paintbrushes or anything else I want to keep handy.
~ Jen D, Canada
Walk through Pantry

Materials: Akurum and Adel
Description: We had a horrible time with our pantry, we bought cheap shelves that didn't work so finally we decided to buy an Ikea kitchen, install it and build it such that it looked like a custom made butlers pantry.
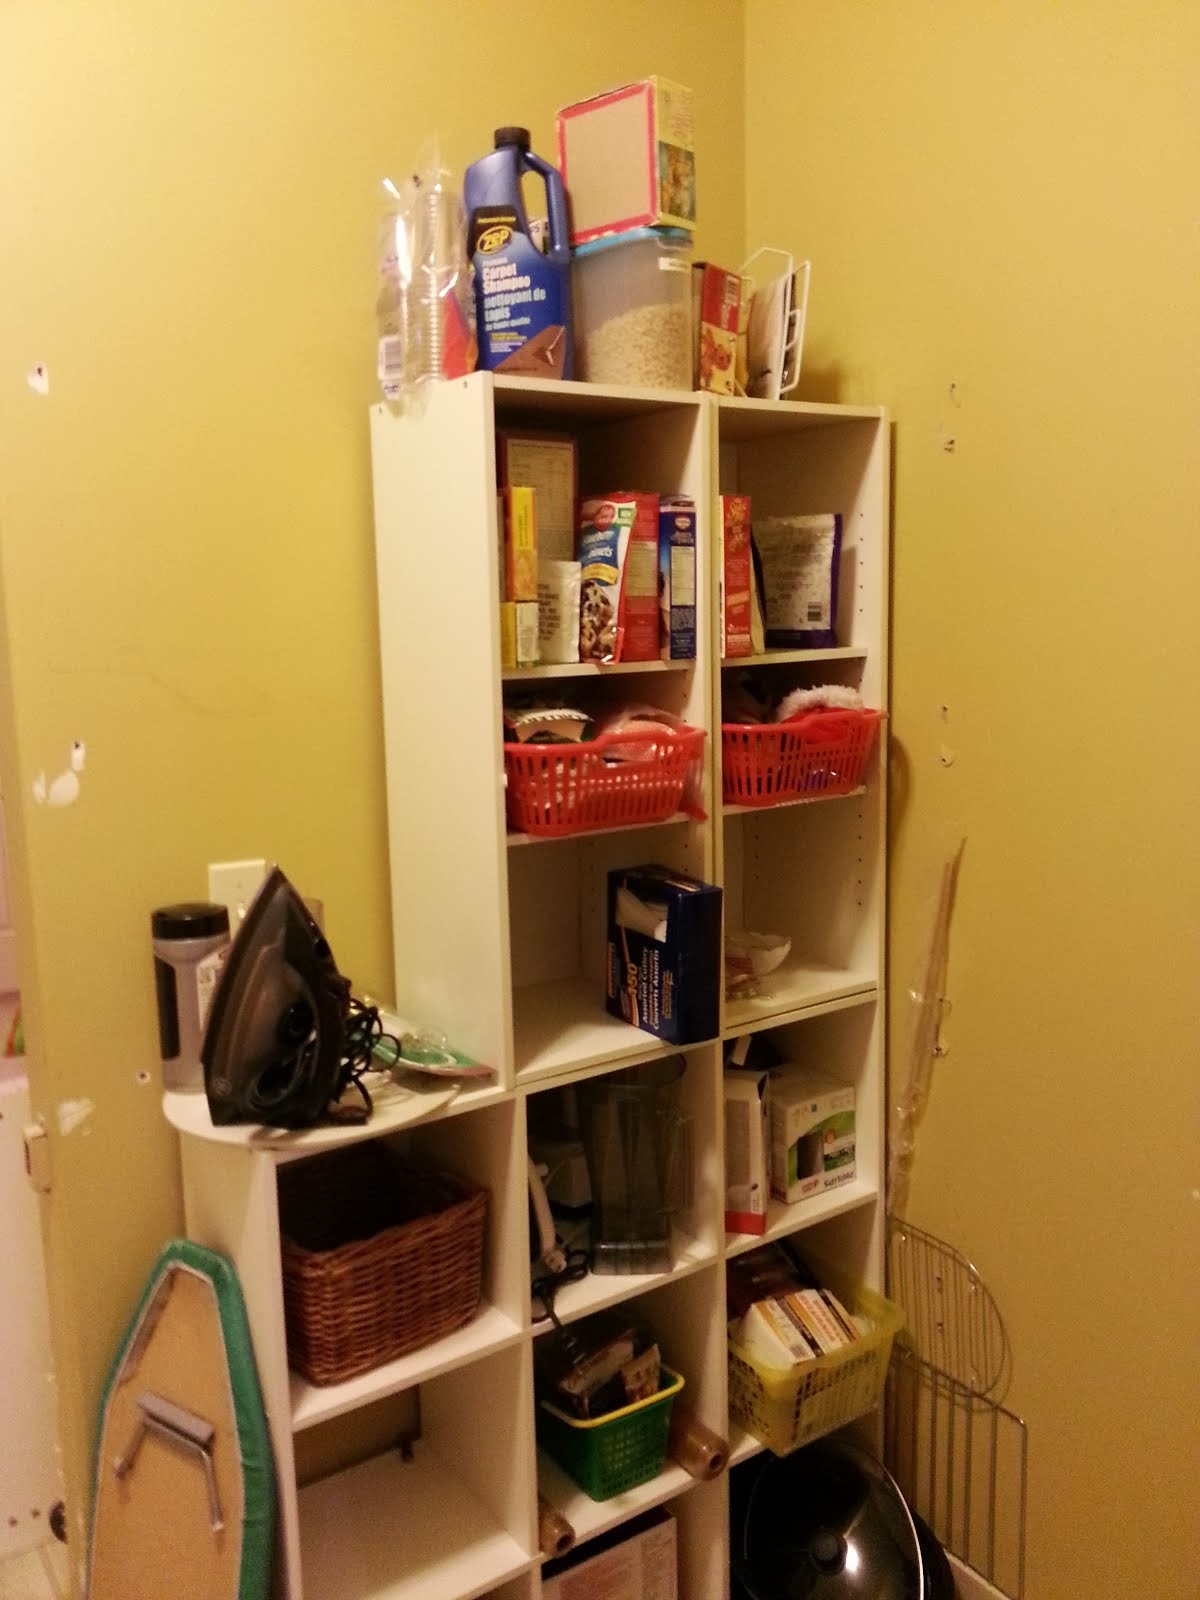


We trimmed it out and added crown molding to make it appear as a built in and to give it a nice finish. I used 30" and 24" Akurum cabinets - 88" inches tall.
~ Mark, Calgary, Alberta
Tuesday, 28 May 2013
Vintage Look Tarva TV Console

Materials: Tarva 6-Drawer Chest, Decorative Knobs, Wood Stain & Paint
Description: Well once again we were on the hunt for an entertainment center, but IKEA's selection came up a little short. The have a lot of "vintage" look items, but their TV consoles seem to be pretty modern across the board. Not to mention, a unit with sufficient storage can get pretty pricey.
Luckily for us DIY-er's, they have the Tarva line of unfinished wood products. Thus, we were able to get the 6-drawer chest for a whopping $149.00. Even out-of-the-box, the chest is a great substitute for an otherwise pricey entertainment center.
To go along with our theme though, the chest needed a little face lift. A small can of some "espresso" wood stain for the drawers and a large can of some "ebony" wood stain for the frame and we were off to a good start...


After applying the stain and letting that dry (no polyurethane was applied), we assembled the dresser. With the drawers left out, we lightly brushed a thin layer of some cream colored latex paint to the frame of the dresser.
For the final touch, we opted to use some decorative pull knobs from our local hardware store instead of the basic ones supplied with the dresser.
All in all, this was a very simple hack with absolutely great results. We had originally planned to use casters, but were happy with how it currently sits.
~ Christopher Clemons, Florida
Drop Leaf Expedit


Materials: Ikea Expedit, Various sizes
Description: I needed a large workspace with lots of storage in my small studio; and sometimes, I needed to not have such a large workspace in my small studio. After looking a gate leg tables, extendable tables, shelves and every combination thereof, I finally decided to hack an Expedit to fit the bill.
A combination of Expedit units, a luan bifold door, and some drop leaf table hardware made for the exact unit I needed, both when I need space and when I don'€™t. Just lift the tabletop, slide out the latch, and I have a 36"€ x 78"€ workspace. Slide the latches back in, and I have a 18"€x78" inch wall storage unit.


Supplies
Expedit Units:
1-1x5 (I left out one shelf to accommodate a small flat screen tv)
2-2x2
2-1x2 (I originally planned to mix and match a 2x2 and 1x1 to create these, but when I got to Ikea, they already had the 1x2's available)
Expedit Inserts, as desired- I used one drawer unit and one door unit.
1 36 x 78 inch luan Bifold door (hinges already attached, stained or painted to match Expedit)
2 pairs of sliding drop leaf table hardware
Directions:
Assemble Expedit, stain bifold door if necessary.
Line up 2x2 units, side by side, (If hacking by yourself, turn them perpendicular to wall to hold the tabletop while you work.) Lay the bifold door flat over the units.
Stack 1x2 units on top outside edges of bifold door, then stack 1x5 unit horizontally over top of 1x2 units. Adjust units so everything is centered.
Mark the latch placement for 2 outside drop leaf latches on the outside edges of the bifold door on the underside. Make sure you attach close to the edge so your screws bite into the framing wood of the door, under the surface. Attach. I used longer wood screws than were provided, just to get a good anchor.
(If you turned the 2x2s to hold the door, un-stack entire unit. Turn 2x2'€™s parallel with wall, leaving space between. make sure they line up inside the hardware already attached.)
Attach 2 drop leaf latches in the center space, as far apart a you are able.
Re-stack entire unit. Add boxes for storage as desired.
I did not attach my pieces together, because they need to be movable, but joining brackets on the back are probably a good idea for permanent installation.
~ Diann Liptak, Richmond, Virginia, USA
Reclaimed Lerberg Etagere

Materials: 2 Lerberg Shelf Units, 4 Planks of Reclaimed Wood, 32 Screws & Washers
Description: This hack couldn't be simpler. In fact, I'm convinced I'm not the first person to think of this.
I picked up 4 planks of wood from my local salvage goods store, 2x6, each 6' in length. (These will replace the wire shelves that the units come with.) I also picked up 32 2" wood screws and 32 washers. I used the washers to protect the legs from the screws drilling too far into the metal frame.
 |
| before |


My 2 Lerberg units gave me a total of 4 upside-down 'U'-shaped legs. You'll turn these legs sideways for this hack. (The Lerberg legs shift and move quite a bit. Their stability is created by the shelf. For that reason, it's best to measure and mark out your screw locations on your planks for even placement.) Screw the legs into place and voila - you have your new etagere!
See more of the Lerberg Etagere.
~ Rachel, New Haven, CT
Monday, 27 May 2013
Billy Bookshelves Kitchen Island

Materials: Billy bookcases and Numerar countertop
Description: We took down a wall between our kitchen and living room and created a room divider/island with Billy bookcases and Numerar butcher block countertop.
We covered the back of the bookcases with beadboard and trimmed the whole thing with moulding from a big box store.


We allowed the butcher block to hang over the back side, supported by corbels. We now have a bar height seating area. On the kitchen side, we've added lots of open shelf storage.
See more of the Billy kitchen island.
~ Courtney Affrunti
Subscribe to:
Posts (Atom)