Showing posts with label kitchen. Show all posts
Showing posts with label kitchen. Show all posts
Friday, 31 May 2013
Glass top kitchen peninsula


Materials: two IVAR (80x50x83) cabinets, one TORSBY (180x85) tabletop,three Gnosjo doors (60x92cm) 1 gnosjo door ( 50x92) one Gnosjo plinth , 16 L-Brackets, 4 mending plates , 8 legs (9cm high), a piece of pinewood of 20x50x1,5, and a piece MDF of 180x85 finished with aluminium edging tape from hardware store
Description:
1.- Paint the IVAR cabinets and the piece of pinewood with transparent white glaze that reveals the wood grain.
2.-Assemble two IVARs as instructed and mount four legs each onto the bottom walls. Leaving the doors unassembled, makes handling a bit easier.
3.- Put the two cabinets side by side, leaving a gap of 20cm in between.


4.- Attach the pinewood piece to the bottom of both cabinets to fill the gap using the 4 mending plates, forming a very useful shelf to store the trays. Now you have the island.
5.- Attach the 3 Gnosjo doors (60x92) to the back of the cabinets and the 50x92 door to the peninsula side opposite to the wall with the 16 L-brackets.
6.- Paint the mdf countertop in white and screw it to the top of the cabinets. Put the whole in place.
7.- Put the Torsby tabletop on it
8.- Saw the Gnosjo plinth to get a piece of 180x9cm ant glue it to the legs at the front part of the peninsula.
9.-Fix the peninsula to the wall and put the IVAR doors in place
~ Teresa Aznar, Spain
Wednesday, 29 May 2013
Walk through Pantry

Materials: Akurum and Adel
Description: We had a horrible time with our pantry, we bought cheap shelves that didn't work so finally we decided to buy an Ikea kitchen, install it and build it such that it looked like a custom made butlers pantry.
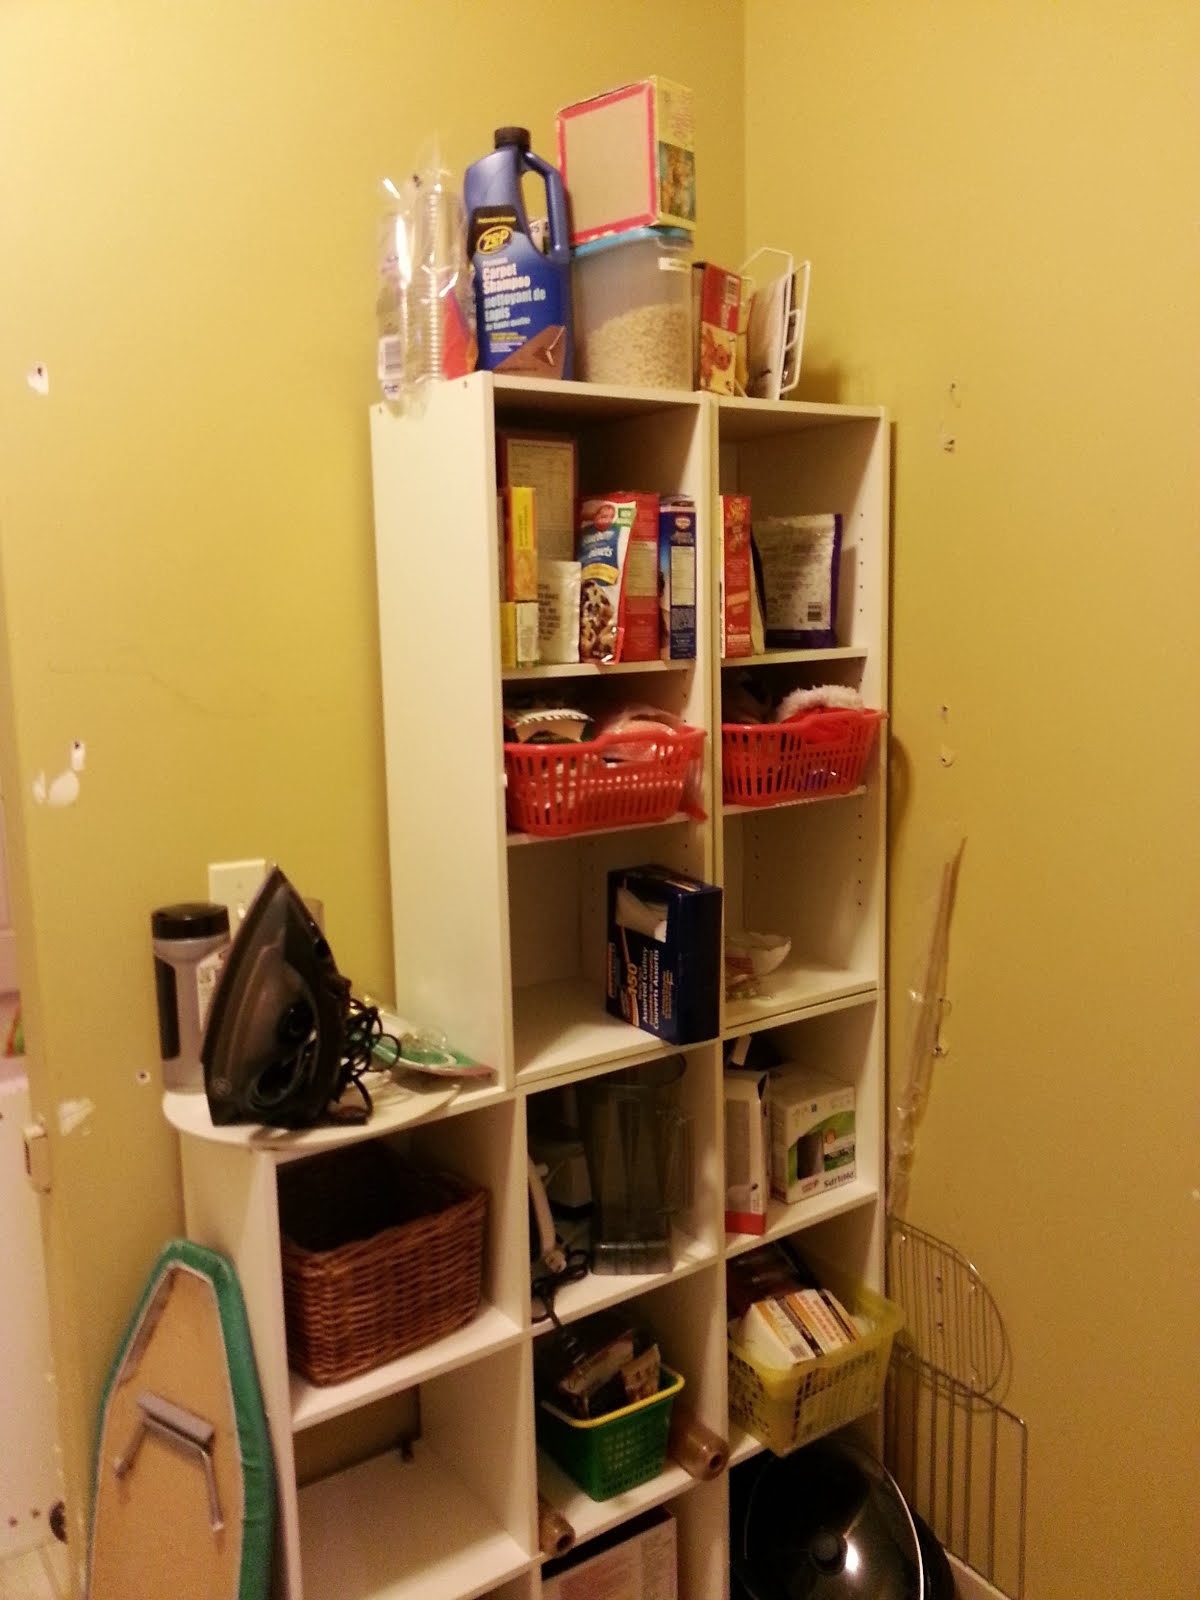


We trimmed it out and added crown molding to make it appear as a built in and to give it a nice finish. I used 30" and 24" Akurum cabinets - 88" inches tall.
~ Mark, Calgary, Alberta
Monday, 27 May 2013
Billy Bookshelves Kitchen Island

Materials: Billy bookcases and Numerar countertop
Description: We took down a wall between our kitchen and living room and created a room divider/island with Billy bookcases and Numerar butcher block countertop.
We covered the back of the bookcases with beadboard and trimmed the whole thing with moulding from a big box store.


We allowed the butcher block to hang over the back side, supported by corbels. We now have a bar height seating area. On the kitchen side, we've added lots of open shelf storage.
See more of the Billy kitchen island.
~ Courtney Affrunti
Monday, 13 May 2013
My hidden spice rack hack/kitchen fan


Materials: RATIONELL 60cm kitchen drawer + VINDRUM kitchen fan.
Description: When I were about to put up my kitchen fan in the corner of the kitchen, I soon discovered I needed a corner cabinet to mount it on, I began to build a custom made cabinet, just to hang the kitchen fan on. But I realized there were lots of space going to waste inside this "come to be, empty cabinet" And as it would be hanging a kitchen fan on the front of the cabinet, no door could be fitted to get access to it's inside. I didn't want one of those pull-out-under-the-cabinet-kitchen-fans as I wanted a retro feeling to the kitchen.
I then came up with my idea of hiding a spice rack inside the cabinet, a pull down spice rack to be precise. I rushed away to IKEA and got myself a standard kitchen drawer of 60cm width. Then my scheme of how to mount this began, I began drawing mechanisms of how it could be stowed away and still hold up a load of spice cans and bottles. I turned my head inside out and back again for about a week, then I finally got it!
Like an Eureka moment!

I got this old non working Honda civic hatchback in my yard, I ran out to it and dismounted the gas springs that held the rear window open to get access to the trunk, then I mounted the spring ends on the backside of the drawer in an A-shape and mounted the spring heads in the cabinet, in that way when pulling down the drawer the springs get compressed and line up horizontal behind the drawer.
This makes the drawer stay down and makes the springs push up once you push the drawer upwards and hold it up once fully closed, if the springs have the right pressure that is, mine needed 11kg of thrust to push them in individually. So theoretically it could hold up 22kg.
I've been using my hidden spice rack for about five years with not a single malfunction. It's a reliable construction.
Unfortunately I can't show the backside of the drawer and its construction, as it involves a major disassembly which I'm not willing to do. The ropes I added for looks, I've always loved mechanical things.
So it's optional if you want them or not.
~ Robin Dahl, Sweden
Floating Ikea horizontal cabinet on soffit

Materials: AKURUM Wall cab horizontal w glass door, birch, RAMSJÖ red-brown, PERFEKT RAMSJÖ Contoured deco strip, red-brown , a matching extra door same number as cabinets, L-Brackets from hardware store, Pencil, Level, 2 in screw, drill, miter saw or box, impact drill and hand saw.
Description: Ok first, the top and bottom panels of your cabinet frame has a lip on the back. Saw these lips off using a straight edge such as a 4 ft level. Attach the level using clamps. Saw the lips off to make an even flat backing. Now build your cabinet frame using all steps in the instructions but skip the first step of attaching the angle bracket for hanging the frame to the wall and where you nail the backing onto the frame. Remember you will not be hanging this to the wall.
Now sand the back of the frame because it will be a bit rough. Then I stained the back of the frame. I used a red mahogany stain as I had the red brown doors but use whatever will match your finish to touch up the back of your frame.


Now decide where you will hang your cabinet make sure to find the 2x4s in your soffit. Mark your placement. Now using those marks measure and cut your contour decor strip. I had two cabinets so I took the full measurement of the two cabinets to make my cuts on the decor strip.
You will be screwing your decor strip into the 2x4s of the soffit so drill guide holes. Your guide holes should be a bit smaller than your screw so your screws can grab the decor strip well. Also have a screw every 6 to 8 inches apart.
Now drill your decor strips to the 2x4s in your soffit. Now pre drill your cabinet the way you drilled your decor strip. A thicker diameter screw will work well and a metallic finish will look better than a normal black screw. Now with another person helping you (which I did not have. lol)
Match up the frame to the decor strips and drill that frame into the decor strip. Six screws work well 4 near each corner and 1 in the middle of the front and the back. That puppy should be in there good. Repeat the steps for multiple hanging cabinets and make the even with each other. Now install your doors.
You should have a cabinet with a door on one side and a open side. Install L brackets to your cabinet frame at the top and bottom about 5inches always from the left and right frames. Now have your helper hold your your door and make sure it is square with the cabinet.
The door will not be flush with any of the sides as it is 1/8 of an inch smaller on all sides. Do your best ;-) Now mark the holes from the L Bracket onto the door pre drill into the door where you made your marks. drill about 1/8 of an inch down. Now have your helper hold the door up, line up the holes and bam screw that extra door in place.
Now its time for your cover panel. Do this as normal. Look at the pics for reference on the panel. Well that's it folks this voids the warranty so make sure you mount this bad boy correct so that it doesn't fall and break all your stuff.
You will be out your plates or glasses and a cabinet. Hope this helps. Oh one last thing you can use any door as long as it is the same size as your front door.
~ Nethaneel Hernandez
Friday, 3 May 2013
From dining table to kitchen bench

Materials: BJURSTA extendable dining table
Description: when I restyled my kitchen, I converted my BJURSTA table into a kitchen bench. But you can also make this for the hallway near to your wardrobe, easy to sit on while putting on your shoes. In that case the storage under can be used for other shoes.
- for this bench you need the 2 small 30/90 parts (to extend the table)
- the four legs
- all screws and construction parts
- the construction between the tabletop and the legs.
- some other screws and 4 metal corners
1. Unscrew the whole table. Use all screws and construction parts again.(Remember the construction of the legs to table top, because you have to do this again).
2. Take the 2 small table tops. Deconstruct all parts and use the table tops only.
3. Saw the legs to the height you want. Saw them from the bottom, because you need the construction on the top.
4. Saw the construction between the tabletop and the legs in the width of <30 cm.
5. On one side the 90 cm length will follow the construction as it was. You can use all screws and construction parts as it was.
6. On the other 90 cm side you have to carve a new slot in the construction between the table top and the legs. This is easy to make with a saw and a carve. You know what I mean when you deconstructed the table.
7. construct the other side.
8. Construct the table top on the construction. (follow the ikea instructions!)
9. Construct the legs.
10. Saw four corners out from the other small table top, in order to fit between the four legs.
11. You will need other screws and metal corners.
12. To finish the bench I used an unused wooden winerack and two wooden boxes.
~ elsbeth dijkstra, amsterdam
Subscribe to:
Posts (Atom)